Your Cart is Empty
Springtime is splitting time if you want another colony
Spring is the perfect time to get started with a new colony. “Splitting” is a cost-effective way of establishing a new hive and one of the best gifts an experienced beekeeper can give someone new to the hobby. Hilary Kearney explains how to do it and how to avoid some of the pitfalls associated with this common beekeeping practice.
- What is a hive split?
- Why split a beehive?
- How to split a hive
- Managing drift
- Buying or raising a new queen

A hive split is a way to make a new honeybee colony from an existing one.
What is a hive split?
If you have a large, healthy hive, it is possible to create a new colony from it by making what is called a split. The basic concept of making a split is that you take a portion of an established colony and transfer it to a separate hive, thereby creating two colonies. The end goal is to have two colonies, each with sufficient worker bee populations, stores and their own queen.
Before splitting your colony, make sure it is healthy and large enough to do so. It’s usually not a good idea to split a first-year colony. Splits should be made from overwintered colonies in the spring when there will be plenty of forage and time for them to recover. Most splits are what you call an “even split”, meaning you will halve the colony, dividing the number of brood combs and honey evenly between the two hives.

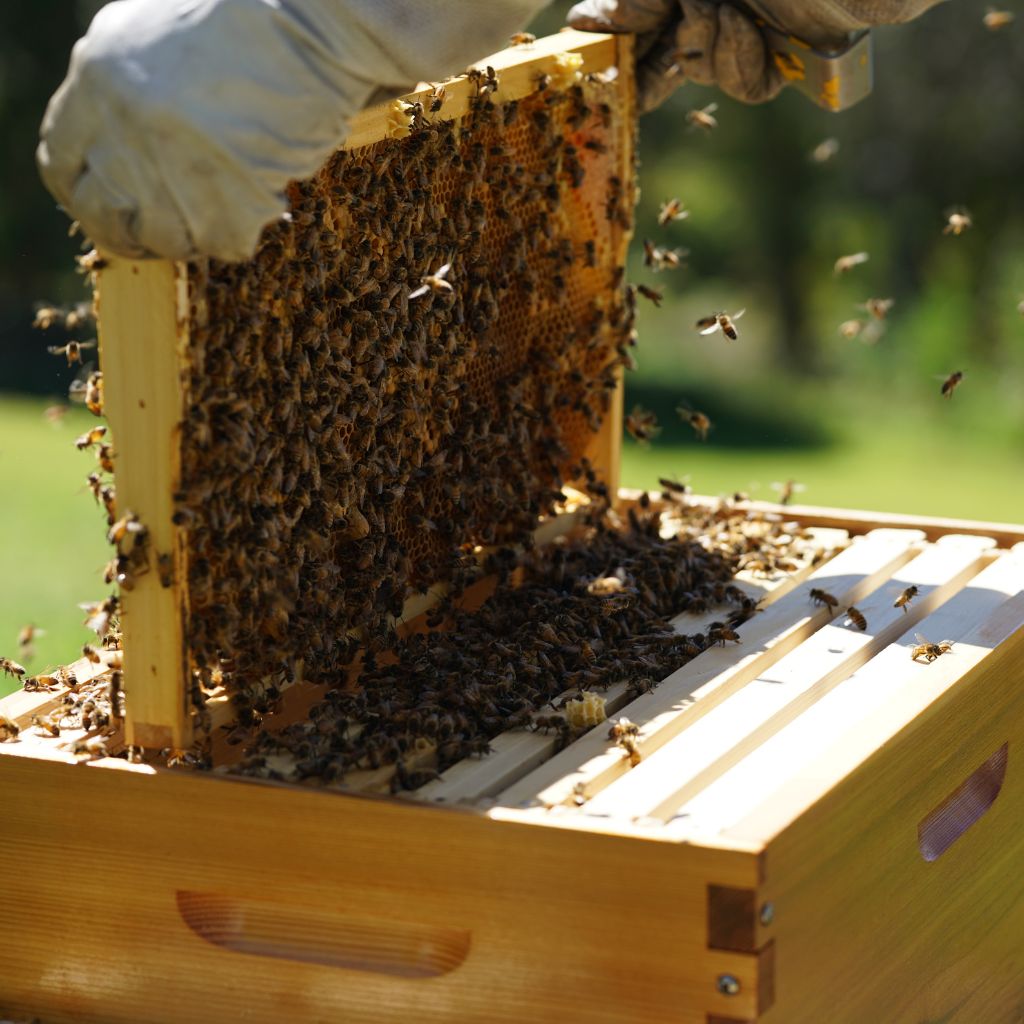
This is an example of a good brood frame to move into your new colony. These capped worker bees will soon hatch into nurses.
Why split a beehive?
There are many reasons for making a split. Some beekeepers make splits to increase their apiary or to sell to other beekeepers. Others use splits as a form of swarm control, mite control or to reduce the size of a large colony. The size of the split you make should be determined by your reason for making it. For example, a beekeeper who wants to sell off some colonies will typically make much smaller splits, more accurately called nucs or starter colonies. That way, they don’t weaken their existing colonies too much and they can make a higher number of nucs. A small split should be no smaller than 3 frames of brood comb and ideally it would have 1 additional frame of honey plus extra nurse bees shaken in. If you make your split too small, it will fail.
For a step-by-step video guide on how to split a hive, watch this video from the Flow YouTube channel:
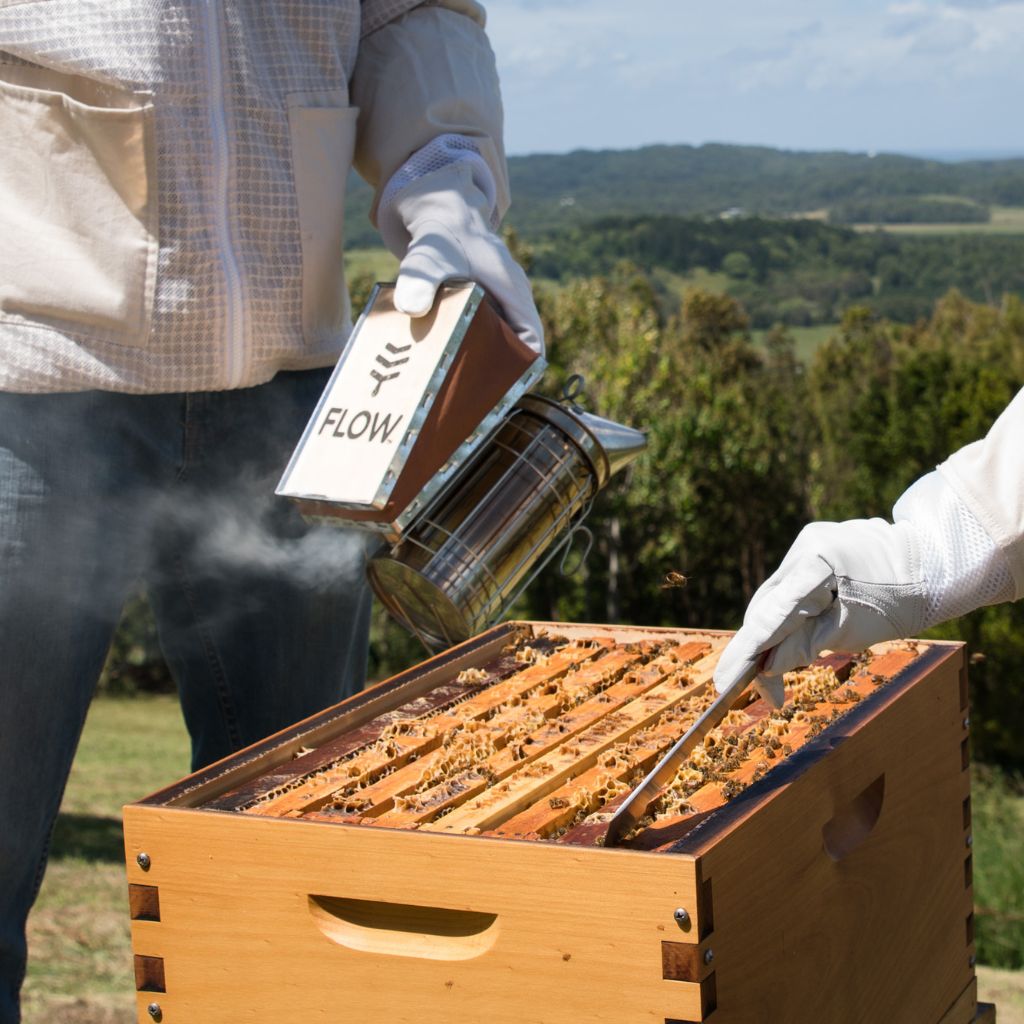
How to split a hive
To start, set up your new equipment and begin to transfer the frames over. The new half of the split will always have fewer bees in it. This puts it at a disadvantage, but two things can be done to bolster it. First, when selecting brood to transfer, make sure you take plenty of capped brood. This brood will hatch soon and help to increase the new colony’s population. Second, make sure to shake in some extra nurse bees. You can do this by locating frames with open brood, they will have the most nurse bees, then hold them over your split and give a sharp shake so that the nurse bees fall into your new hive.

Hilary making a split: moving frames from the original hive to a new box.
Managing drift
When making a split, you have to also consider the problem of drift. Drift refers to foragers who will return to the location of the original hive. If you make a split and leave it in the same yard, you should expect all the workers who can fly to return to the original hive. This can often result in a failed split because the new colony will end up with too few bees. You can address the problem of drift in three ways:
- Position both hives next to each other, so that the traffic is divided between the two.
- Shake in sufficient nurse bees, who will not be able to fly back to the original hive.
- Block the entrance and move the split at least three miles (6km) away.
It’s a good idea to monitor your splits closely in the days following their creation. Make sure each has enough adult bees to care for the brood you have given them and take action if they do not.
For in-depth lessons on splitting a hive, including other methods known as the vertical split and the horizontal split, check out TheBeekeeeper.org. Featuring beekeeping experts from around the world, it’s an unrivaled source of beekeeping wisdom. Try it out with a 30-day free trial.
Buying or raising a new queen
The next to consider is the queen. When making a split, you can either let the bees raise their own queen or introduce a caged queen. Introducing a caged queen will save your new split valuable time. It can take about 3 weeks for a new queen to develop, mate and begin laying eggs. However, letting your bees raise their own queen will save you money and will help to propagate the strong genes of your original colony. Keep in mind that if you are in an Africanized Honey Bee Zone, letting your bees raise their own queen may result in an increase in defensiveness in your colony. If you are making a split for the purpose of mite control, the brood break is what you are after so, you probably want to let your bees raise their own queen or delay installation of a caged queen.
Planning to split your beehive? Flow Hive offers the very best in honey harvesting technology. We also stock high-quality brood boxes, Flow supers, and beekeeping gear.
SHOP NOW
Hilary Kearney is a full-time beekeeper in her home town of San Diego, California. Her business Girl Next Door Honey educates hundreds of new beekeepers each year. She is the author of the Beekeeping Like A Girl blog and maintains popular Instagram, Facebook and Twitter accounts. When she’s not rescuing bees, teaching about bees, photographing bees or managing one of her 60 colonies, she’s sleeping and dreaming of bees.